Azure DevOps Build
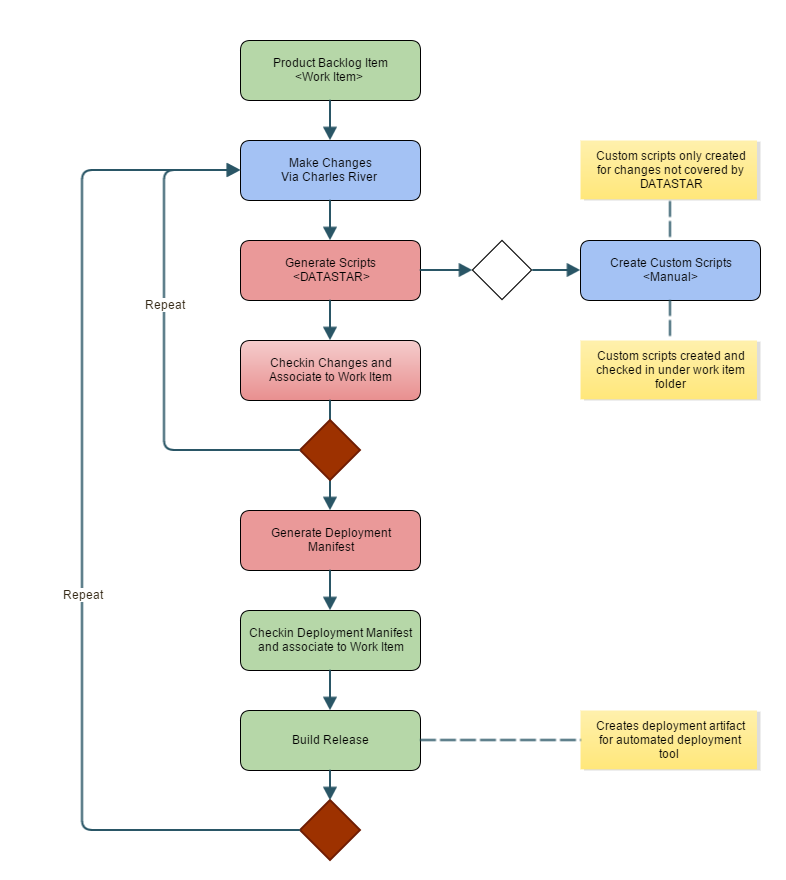
In order to build scripts generated by DATASTAR (including any custom scripts that you may be including in the deployment) the deployment manifests need to be made available to the build process. We do this by creating a work item in TFS that represents the release task.
Overview
Build Steps
The build process will be driven by a work item which represents the "release".
- You need to setup a "WorkItem" variable that is set when the build is queue.
- You will need to format the build number so it is in the format of
. using the build number format: \((WorkItem)\)(Rev:.r)
Get Sources
This is a mandatory step in an Azure DevOps Build, but it's not really required as we use a custom task to get the sources. If you don't need additional build scripts then it can be mapped to an empty GIT repository unless you want to include any other sources.
Agent Get Sources
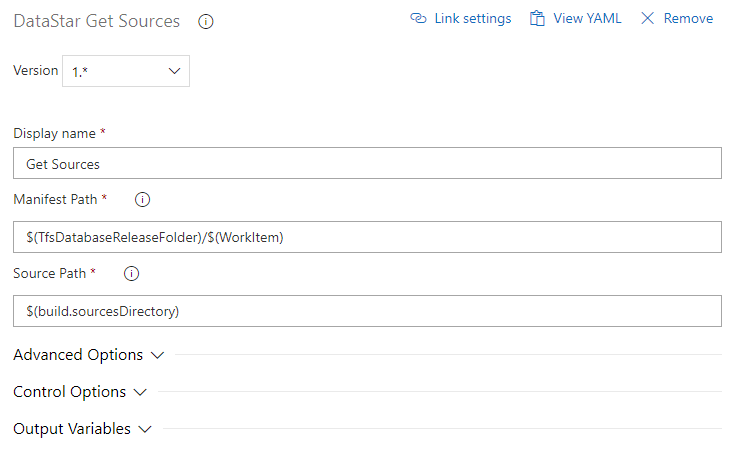
Add the DataStar Get Sources Task, set the manifest path to the location of the release control file or manifest using the $(WorkItem) variable that is captured when you create a new build. The Source Path would normally be set to the $(build.sourcesDirectory) variable.
The purpose of this task is to obtain the files that are required for the release. Given a Work Item the task will obtain all the deployment manifests that are stored under that work item folder in the releases directory of your TFS source repository. The manifests are always obtained at the latest version.
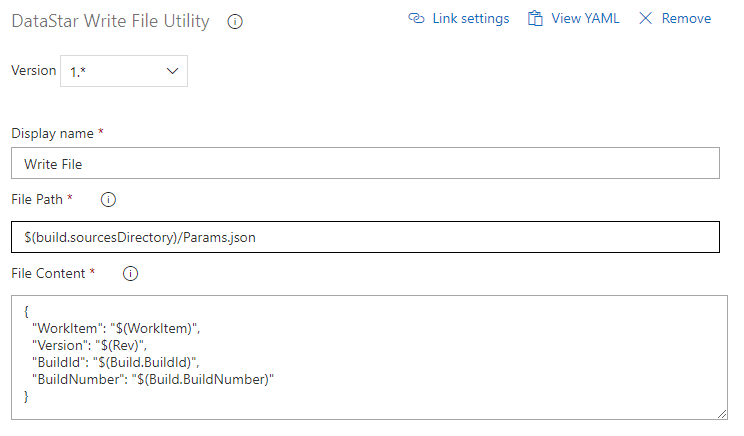
Write File
This step generates a json file that contains details about the build in a format that can easily be interpreted by the release process. You can use the DataStar Write File Task for this purpose.
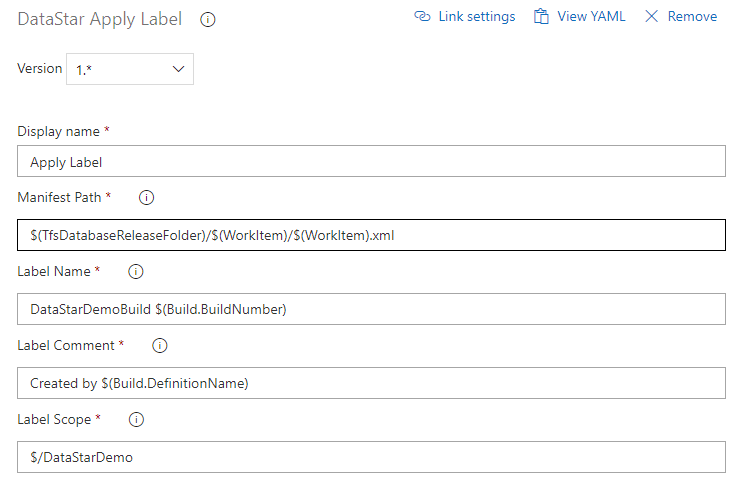
Apply Label
An optional step can be added to label the release files, there is a standard Apply Label Task for this purpose, you will need to setup the additional variables, please refer to the task documentation for more details.
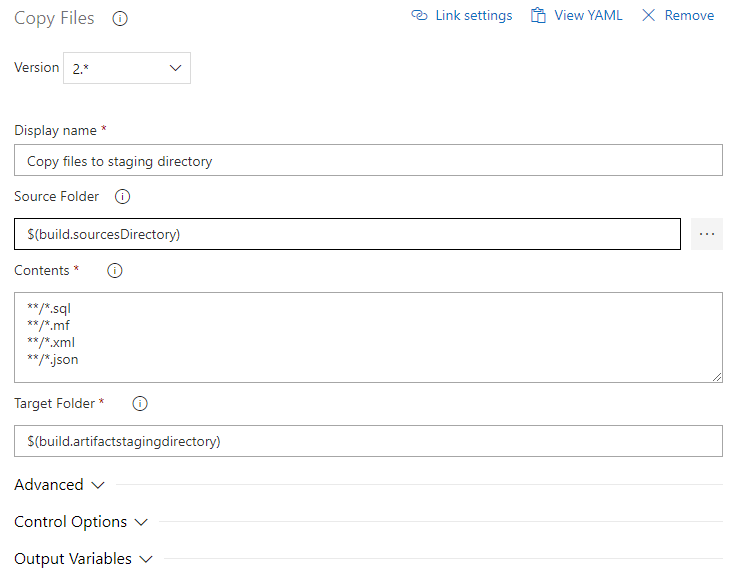
Copy Files to Staging Directory
The scripts that make up the build must be copied to an output folder ready for packaging, use a standard copy files task for this purpose.
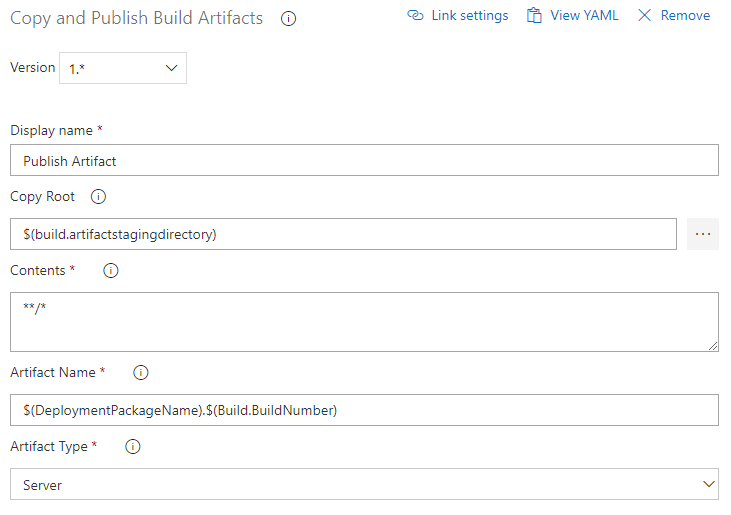
Publish Artifact
Copy and publish the artifacts, in the example below we are copying to the TFS Server, however you could copy to a file share or package up as a NuGet package and deploy. This is the package or artifact that will be used by your release process.
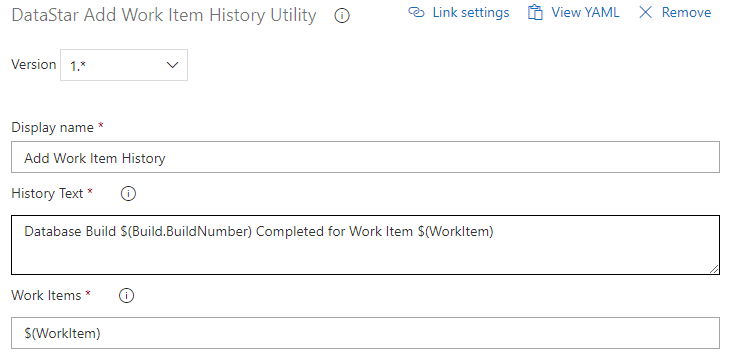
Add Work Item History
An optional step that allows you to write an entry to the work item history.
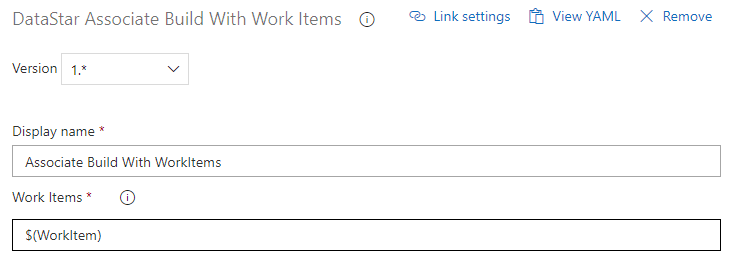
Associate Build With Work Items
An optional step that associates the build with the work item.