Overview
Whether your software project is large or small, using version control as soon as possible is a good idea. Version control systems are software that help you track changes you make in your code over time. As you edit your code, you tell the version control system to take a snapshot of your files. The version control system saves that snapshot permanently so you can recall it later if you need it.
Team Foundation Version Control (TFVC) is centralized version control and DataStar supports the "Local Workspace" model where each team member takes a copy of the latest version of the codebase with them and works offline as needed, users check in their changes and resolve conflicts as necessary.
Commit
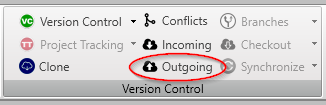
Almost every change that you make to the DATASTAR scripts on your machine is stored in your workspace as a pending change until you check it in. When you check in your changes, they are stored as a ChangeSet on the server. Although the DATASTAR Commit provides a different user interface than the one you can use in Visual Studio, the process is fundamentally the same. A check-in or commit can be initiated via the component view in the right hand drop down menu, or via the "Outgoing" button on the Version Control ribbon menu.
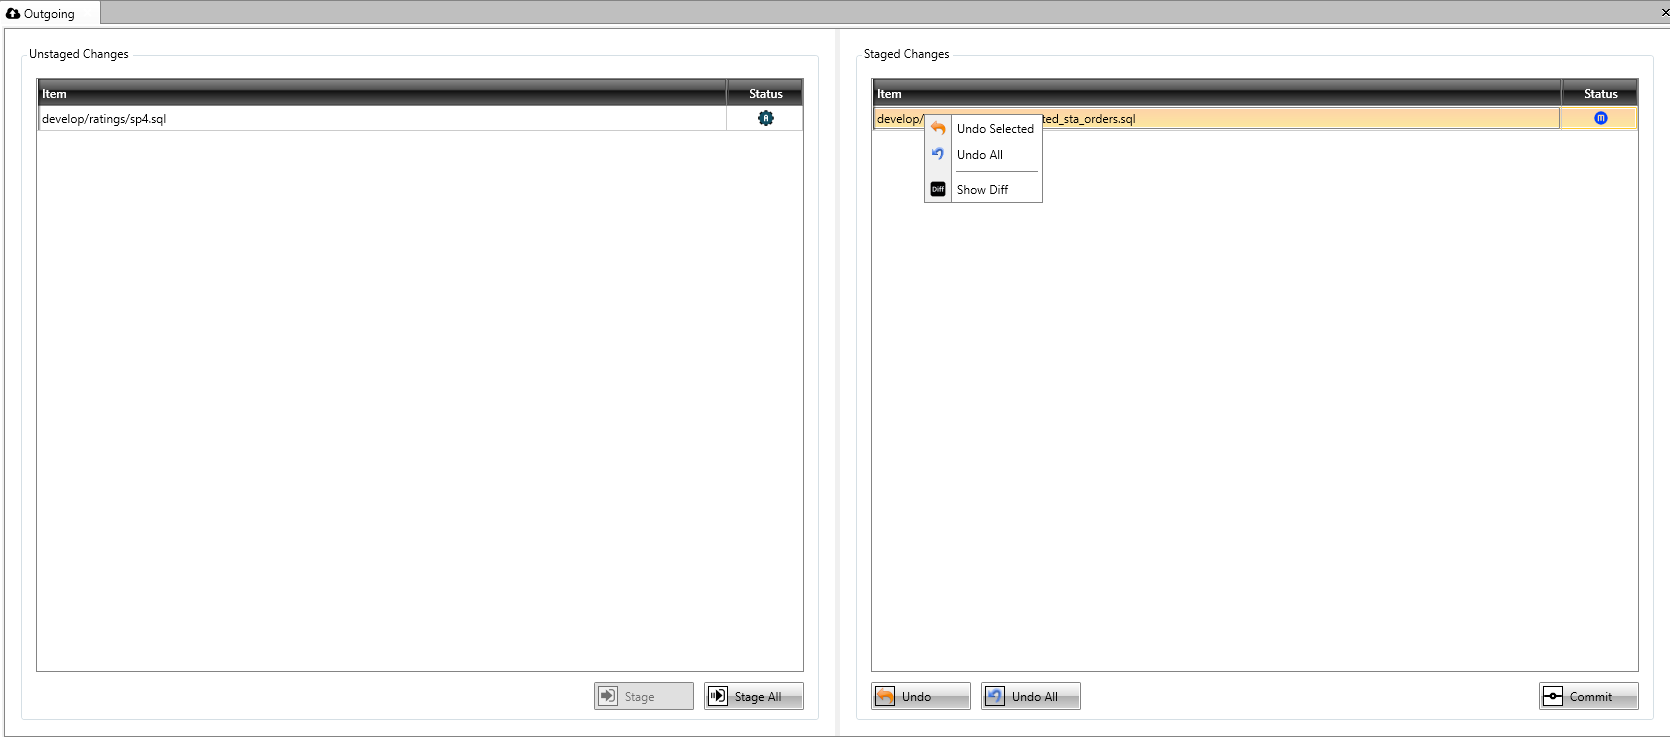
The outgoing window provides a view of all changes in your local workspace, the terminology follows mimics GIT, however it behaves slightly differently due to the fact that TFVC is a centralized repository:
Unstaged Changes - these are changes that are not in your repository, effectively any new files being added for the first time will appear here, once they have been added you your repository they will only appear as staged changes. Staging a file performs an "Add" operation.
Staged Changes - these are changes that are being made to your local workspace, and can be committed, if you undo a staged change then it will revert that change in your local repository. There is an additional option on the right hand menu to "Diff" the changes, this will open a separate "Diff" view.
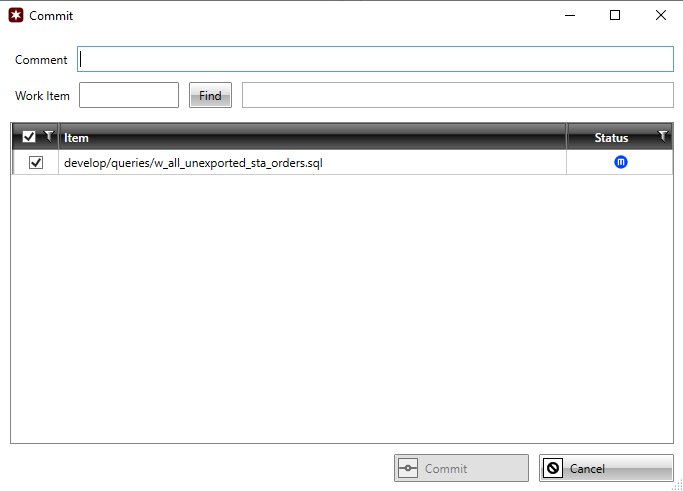
The "Commit" button will bring up the "Commit" dialog window, you must enter a comment that describes the change you are making. The "Work Item" field maybe optional (this depends on the setting in your workspace file). Entering a work item will associate the commit with the Work Item and you will be able to see this association in Azure Dev Ops (aka TFS).
Diff
The diff view can be used to show differences being applied, it will look something like this:
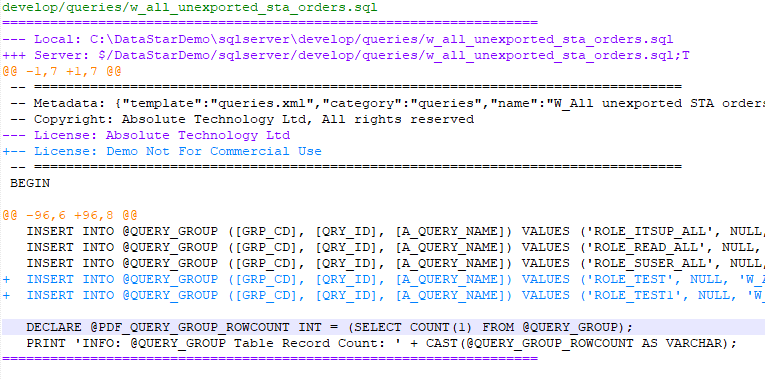
To make clear what is actually compared, a diff output always starts by declaring which files are are being compared, in this case Local and Server. Further down in the output, the actual changes will be marked as coming from Local or Server. In order to tell them apart, Local and Server are each assigned a symbol: for Local version, this is a minus ("-") sign and for the Server version, a plus ("+") sign is used.
Chunk
A diff doesn't show the complete file from beginning to end: you wouldn't want to see everything in a 10,000 lines file, when only 2 lines have changed. Instead, it only shows those portions that were actually modified. Such a portion is called a "chunk" (or "hunk"). In addition to the actual changed lines, a chunk also contains a bit of "context": some (unchanged) lines before and after the modification so you can better understand in what context that change happened.
Chunk Header
Each of these chunks is prepended by a header. Enclosed in two "@" signs each, Git tells you which lines were affected. In our case the following lines are represented in the second chunk:
- From the Local file (represented by a "-"), 6 lines are extracted, beginning from line no. 96
- From file Server file (represented by a "+"), 8 lines are displayed, also starting from line no. 96
Changes
Each changed line is prepended with either a "+" or a "-" symbol. As explained, these symbols help you understand how exactly version local and server look: a line that is prepended with a "-" sign comes from local, while a line with a "+" sign comes from server. In most cases, DATASTAR diffs the files in such a way that you can think of "-" (minus) as "old" content and "+" (plus) as "new" content - although this is not always the case as there could be new server content.
Conflicts
An advantage of using version control to manage your files is that several people can work concurrently on a file. One drawback is that sometimes you must resolve conflicts before you can check in your files. If your commit fails you will get an error message.
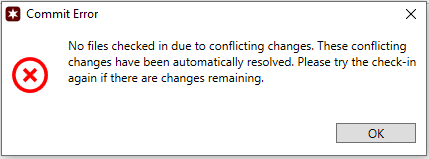
Automatic Merge
If the changes are in different parts of the file TFVC maybe able to resolve the conflicts automatically, as shown in the example message below. If this happens you should carefully review the merged file, this will be sitting in a "staged" status.
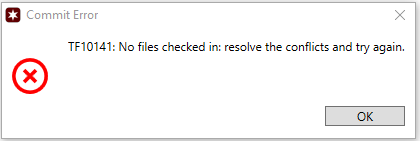
Manual Merge
Not all conflicts can be resolved automatically, for example if two people have changes the same line then it is not possible to resolve automatically, in this case you will see a message similar to the one shown below:
You can manage the conflict via the "Conflict" option in the Version Control ribbon menu. This will bring up a list of items that are in conflict.
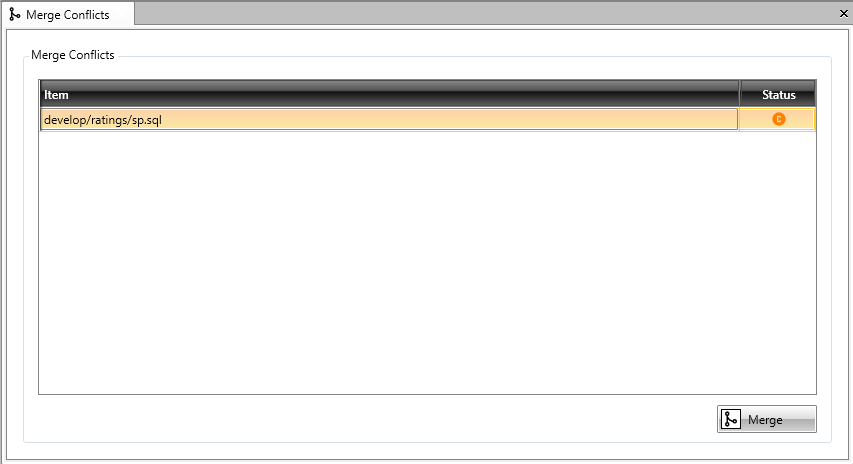
The right hand mouse button context menu has the following options:
Merge Selected this will merge the files manually using the merge tool that you have configured in the Configuration Options, this option is only available where the merge tool is configured, good candidates for the merge tool are BeyondCompare or KDiff3.
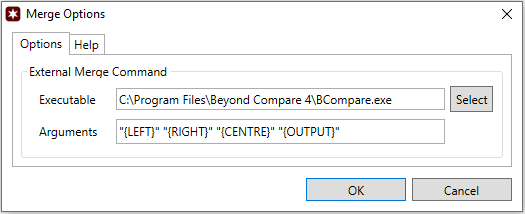
You will notice that this will generate multiple versions of the file, named "ours", "base", "theirs", these will be opened in your merge tool, it is your job to review the changes so that the actual file reflects the desired content. When the main file is saved the conflict is automatically marked as resolved and the "ours", "base", "theirs" files will automatically be deleted.
Keep Ours this will overwrite the incoming version with the local version of the file.
Keep Theirs this will overwrite the local version with the incoming version.
Fetch
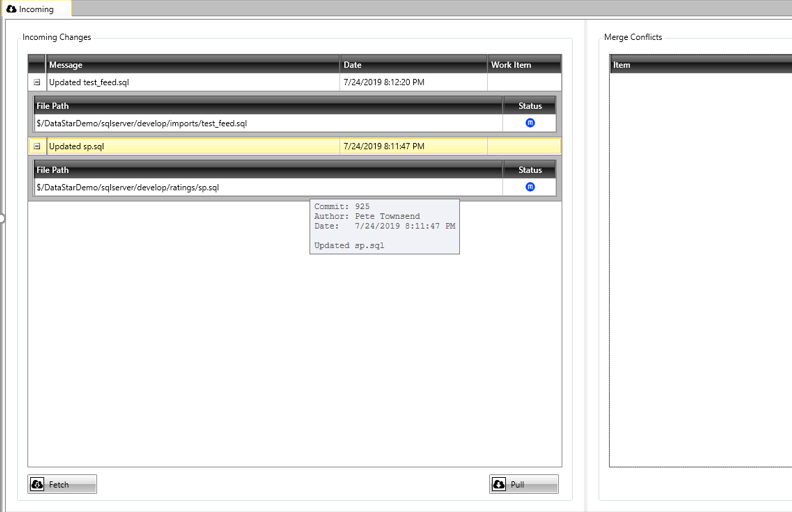
The incoming view lets you what changes have been made on the server by other users, the behavior is similar to the "Fetch" and "Pull" functions in GIT, however they not identical due to the nature of TFVC being a centralized version control system.
When the view is first opened it will fetch a list of incoming changes and display them with the associated work item if present. Each commit is shown as a separate row which can be expanded to show the files that were changed. Hovering over the commit shows some context sensitive information including the ChangeSet, Author, Date and Comment. A fetch can be run at anytime by using the fetch button, it does not bring the changes into your workspace and therefore it cannot result in a merge conflict.
There are compare options available via the right hand mouse button:
Diff - The diff option provides a diff of the commit and therefore requires the commit row to be selected for the option to be enabled.
Compare - The compare option provides a compare of a specific file and therefore a row within the expanded commit must be selected for the option to be enabled. As with any compare feature you must have enabled the external compare tool via the configuration tab.
Pull
The pull option is similar to a "Pull" in GIT, the changes will be fetched from the repository and merged into your local repository. This operate can result in a merge conflict, any conflicts will be shown in the right hand conflict view. The conflict can either resolved from this view using the merge option, or alternatively it can be managed via the conflict view.
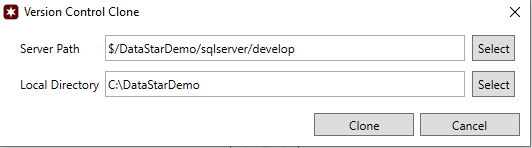
Clone
The clone option allows you to clone an existing repository to set up a local workspace folder. This requires you to select the sever path and a local directory. The server path should be a valid DataStar repository and the local directory must be an empty folder.
Other Features
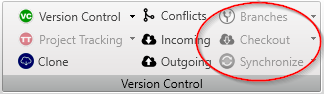
The Branches / Checkout / Synchronize options are not enabled for TFVC.
Currently the Project Tracking option is disabled for TFVC as it will automatically use your Version Control connection for Task Management (via Azure Dev Ops Work Items).